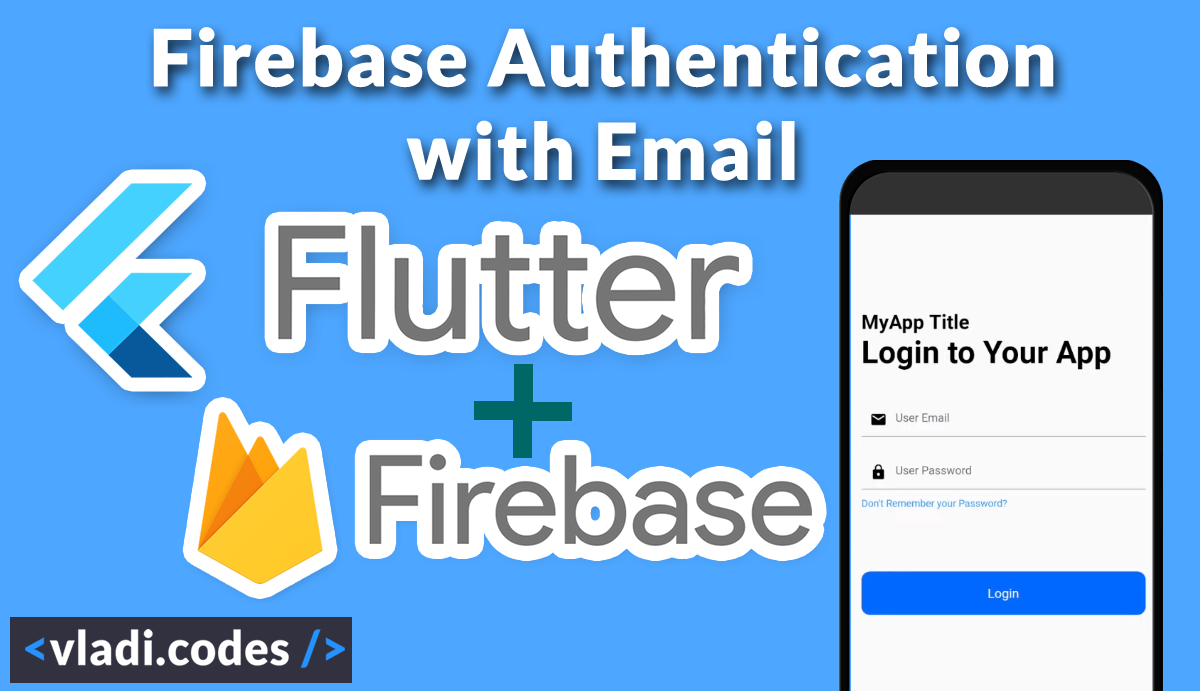
Para crear un sistema de Login usando Firebase debes crear un proyecto en Google Firebase, este es un servicio de Google que contienen multiples servicios que pudes utilizar tanto en aplicaciones móviles como en Aplicaciones Web.
Entre las funcionalidades que puedes utilizar es Hosting, Authentication, Messaging (Notification), Realtime Database, Firebase Storage, Analytics, entre otros.
Para este demo realizado con Flutter vamos a utilizar el servicio de Firebase Authentication.
Luego de crear un nuevo proyecto en Flutter debes abrir el archivo pubspec.yaml para agregar la dependencia de Firebase Core y Firebase Auth. (Para revisar las versiones recientes visita el sitio oficial https://pub.dev/packages/firebase_core https://pub.dev/packages/firebase_auth). Estas dependencias se agregan en el archivo de Configuracion en Flutter pubspec.yaml bajo la directiva dependencies:
dependencies:
  flutter:
    sdk: flutter
  cupertino_icons: ^1.0.2
  # Firebase dependencies
  firebase_core: ^1.11.0
  firebase_auth: ^3.3.5
Crear un proyecto en Firebase
Para crear un proyecto en Google Firebase debes crear una cuenta en https://firebase.google.com/ al tener una cuenta puedes crear diferentes proyectos
Paso 1: Crear el proyecto
Paso 2: Agrega un nombre al proyecto
Paso 3:
Paso 4: Agrega un proyecto de Android
Paso 5: Agrega el ID de la app, este lo puedes encontrar en el archivo android/app/build.gradle de tu proyecto
Paso 6: Descarga el arhivo y pégalo en el directorio android/ de tu proyecto
Paso 7: Agrega el código de configuración en el archivo android/build.gradlew
Paso 8: Agrega el código de configuración en el archivo android/app/build.gradlew
Paso9: Activa el servicio de Autenticación para el proyecto
Diseño de la Interfaz
Archivo main.dart
import 'package:firebase_auth/firebase_auth.dart';
import 'package:flutter/material.dart';
import 'package:firebase_core/firebase_core.dart';
import 'package:flutterloginfirebase/profile_screen.dart';

void main() {
  runApp(const MyApp());
}

class MyApp extends StatelessWidget {
  const MyApp({Key? key}) : super(key: key);

  // This widget is the root of your application.
  @override
  Widget build(BuildContext context) {
    return MaterialApp(
      title: 'Flutter Demo',
      theme: ThemeData(
        primarySwatch: Colors.blue,
      ),
      home: HomePage(),
    );
  }
}

class HomePage extends StatefulWidget {
  const HomePage({Key? key}) : super(key: key);

  @override
  _HomePageState createState() => _HomePageState();
}

class _HomePageState extends State {

  //initialize Firebase
  Future _initializeFirebase() async {
    FirebaseApp firebaseApp = await Firebase.initializeApp();
    return firebaseApp;
  }

  @override
  Widget build(BuildContext context) {
    return Scaffold(
      body: FutureBuilder(
        future: _initializeFirebase(),
        builder: (context, snapshot){
          if(snapshot.connectionState == ConnectionState.done){
            return LoginScreen();
          }
          return const Center(
            child: CircularProgressIndicator(),
          );
        },
      )
    );
  }
}

class LoginScreen extends StatefulWidget {
  const LoginScreen({Key? key}) : super(key: key);

  @override
  _LoginScreenState createState() => _LoginScreenState();
}

class _LoginScreenState extends State {

  //login function
  static Future loginUsingEmailPassword({required String email, required String password, required BuildContext context}) async{
      FirebaseAuth auth = FirebaseAuth.instance;
      User? user;
      try {
         UserCredential userCredential = await auth.signInWithEmailAndPassword(email: email, password: password);
         user = userCredential.user;
      } on FirebaseException catch(e){
        if(e.code == 'user-not-found'){
          print('No user found for that email');

        }

      }
    return user;
  }

  @override
  Widget build(BuildContext context) {
    //Creating the textfield controller
    TextEditingController _emailController = TextEditingController();
    TextEditingController _passwordController = TextEditingController();

    return Padding(
      padding: const EdgeInsets.all(16.0),
      child: Column(
        mainAxisAlignment: MainAxisAlignment.center,
        crossAxisAlignment: CrossAxisAlignment.start,
        children: [
          const Text(
            "Login to your App",
            style: TextStyle(
              color: Colors.black45,
              fontSize: 28.0,
              fontWeight: FontWeight.bold
            ),
          ),
          const Text(
            "My App Title",
            style: TextStyle(
              color: Colors.black45,
              fontSize: 44.0,
              fontWeight: FontWeight.bold
            ),
          ),
          const SizedBox(
            height: 44.0,
          ),
          TextField(
            controller: _emailController,
            keyboardType: TextInputType.emailAddress,
            decoration: const InputDecoration(
              hintText: "Email",
              prefixIcon: Icon(Icons.email, color: Colors.black45,)
            ),
          ),
          const SizedBox(
            height: 44.0,
          ),
          TextField(
            controller: _passwordController,
            obscureText: true,
            decoration: const InputDecoration(
              hintText: "Password",
              prefixIcon: Icon(Icons.lock, color: Colors.black45,)
            ),
          ),
          const SizedBox(
            height: 12.0,
          ),
          const Text(
            "He olvidado mi contraseña",
            style: TextStyle(color: Colors.blue),
          ),
          const SizedBox(
            height: 88.0,
          ),
          Container(
            width: double.infinity,
            child: RawMaterialButton(
              fillColor: const Color(0XFF0069FE),
              elevation: 0.0,
              padding: const EdgeInsets.symmetric(vertical: 20.0),
              shape: RoundedRectangleBorder(
                borderRadius: BorderRadius.circular(4.0)
              ),
              onPressed: () async{
                //Let's test the app
                User? user = await loginUsingEmailPassword(email: _emailController.text, password: _passwordController.text, context: context);
                if(user != null){
                  Navigator.of(context).pushReplacement(MaterialPageRoute(builder: (context) => ProfileScreen() ));
                }
              },
              child: const Text("Login", style: TextStyle(
                color: Colors.white,
                fontSize: 18.0,
              ),),
            ),
          )
        ],
      ),
    );
  }
}
profile_screen.dart
import 'package:flutter/cupertino.dart';
import 'package:flutter/material.dart';

class ProfileScreen extends StatefulWidget {
  const ProfileScreen({ Key? key }) : super(key: key);

  @override
  _ProfileScreenState createState() => _ProfileScreenState();
}

class _ProfileScreenState extends State {
  @override
  Widget build(BuildContext context) {
    return Scaffold(
      body: Center(
         child: Text('Wellcome to your profile page'),
      ),

    );
  }
}
Proyecto creado por doctor code - YouTube video


